As an Amazon Associate, we earn from qualifying purchases. Some links may be affiliate links at no extra cost to you. Although our opinions are based on curated research, we haven't used these products. Articles generated with AI.

DIY Guide to Build Your Pickleball Court in 10 Simple Steps for 2026
Building your own pickleball court is totally doable with the right planning. Start by finding a flat 44’x20′ space, check for permits, and prepare proper drainage with a 1% slope. Choose between concrete (3.5″ thick) or budget-friendly asphalt for your foundation. Install the net system, paint crisp 2″ white lines, and consider adding fencing and LED lighting for night play. Your DIY court will serve up years of paddle-slapping fun when you follow these essential steps.
Key Takeaways
- Proper court dimensions require a 44′ x 20′ playing area with 2-inch white boundary lines and 7-foot non-volley zones from the net.
- Foundation materials should be either concrete (3.5-inch thick, 2500 psi) or asphalt, with a 1% slope for drainage.
- Install effective drainage systems including French drains and a gravel base to prevent water accumulation and surface damage.
- Position the court north-south to minimize sun glare and include windbreaks to improve gameplay experience.
- Mount weather-resistant LED fixtures on 18-20 foot poles, aiming for 50 foot-candles of brightness for night play.
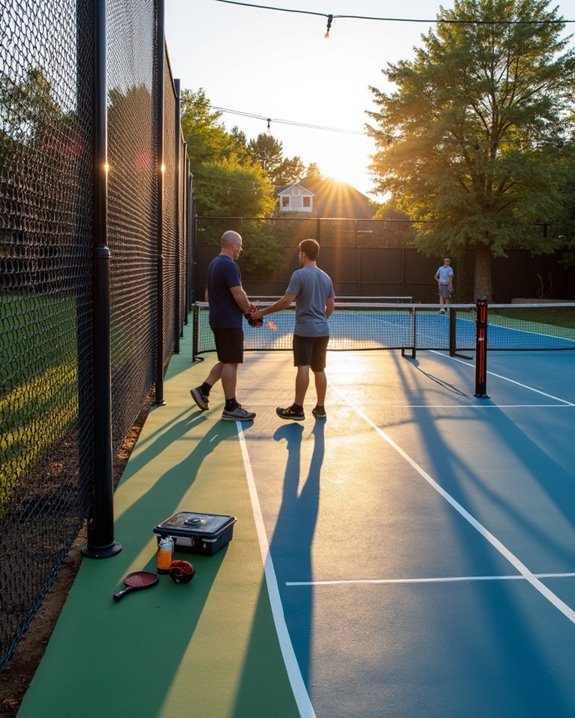
Planning and Site Selection for Your Perfect Court
You may be interested

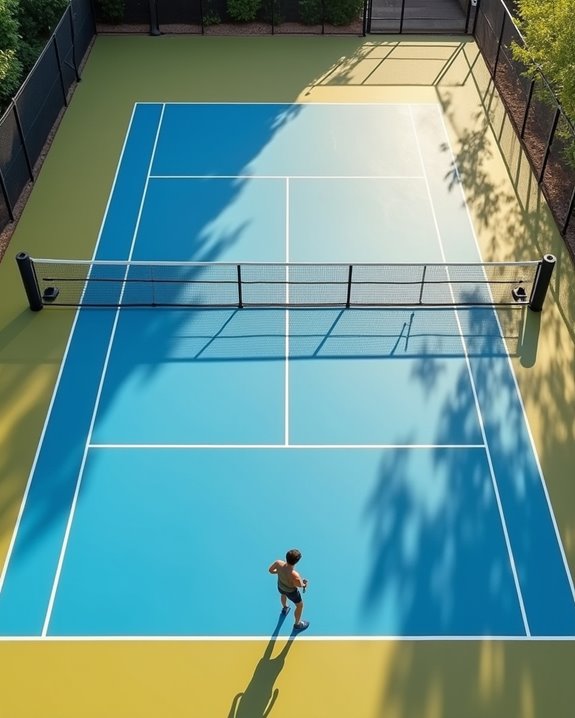
Before you break ground on your pickleball adventure, you’ll need to carefully select the right location for your court. Think of site selection as choosing the perfect spot to serve up your favorite dish—it requires careful consideration of all ingredients.
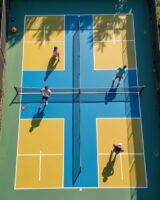
First, measure your available space. You’ll need at least 30 by 60 feet to accommodate the standard 20 by 44-foot court dimensions. Position your court north-south, like aligning a perfectly plated meal, to prevent sun glare.
Don’t skip checking local regulations and zoning laws! Permits may be required before you start mixing your concrete “batter.” Ascertain good drainage to prevent water pooling, and consider nearby residential areas to minimize noise impact. Your neighbors will appreciate not being served a daily dose of pickleball sounds!
Measuring and Marking Your Pickleball Court Dimensions
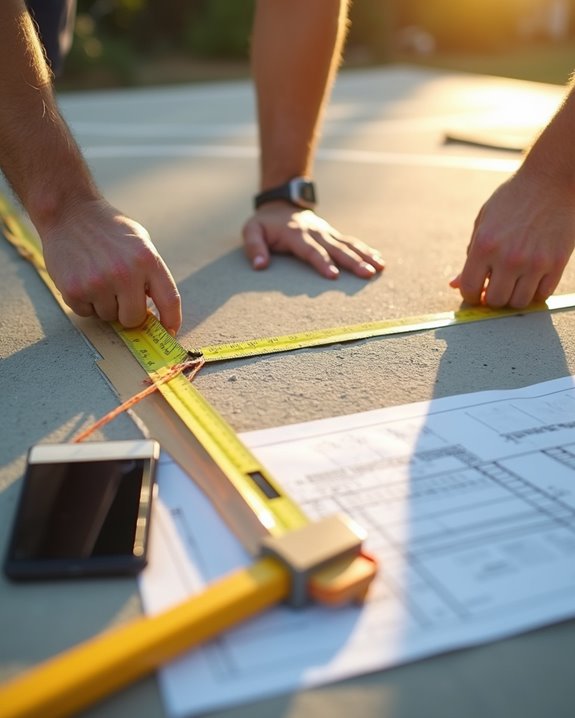
Three critical elements make up the perfect pickleball court recipe: precise measurements, clear markings, and careful attention to detail. Your court should be exactly 44 feet long by 20 feet wide, with a total footprint of 30 by 60 feet to allow players to move freely.
Begin by measuring and marking your baseline positions, creating the court’s outer frame like a perfectly shaped cake pan. Next, measure 7 feet from the net on both sides to establish your non-volley zone—the critical “sweet spot” of pickleball strategy.
For maximum visibility, paint all lines white and 2 inches wide. Don’t forget the sidelines and centerlines, which define your playing area’s boundaries. Use a measuring tape and laser marker to guarantee your dimensions are absolutely accurate—there’s no room for eyeballing in this recipe!
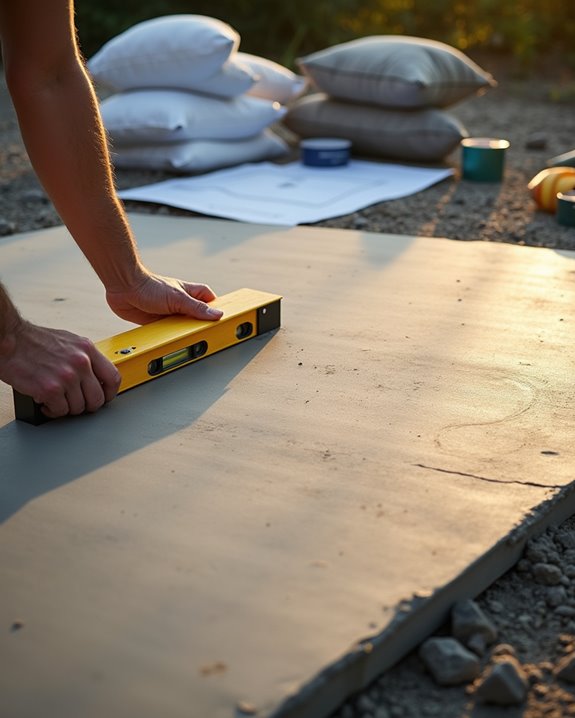
Ground Preparation and Excavation Techniques
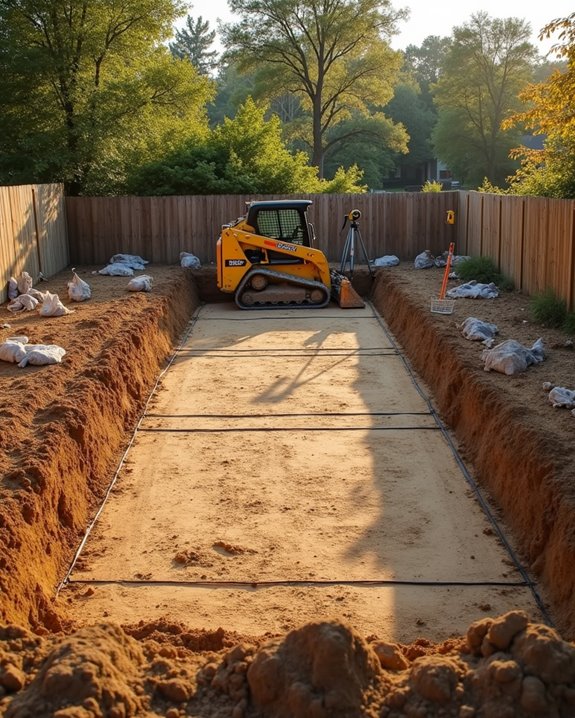
Once you’ve mapped out your court’s dimensions, it’s time to prep your ground—similar to preparing a perfect pie crust before adding the filling. Start by clearing all debris and vegetation from your workspace, creating a clean canvas for your pickleball masterpiece.
Next, focus on getting your surface leveled properly using precise grading techniques—an uneven court will lead to unpredictable bounces and frustrated players. During excavation, incorporate smart drainage solutions by gently sloping the ground away from the playing area dimensions (20′ x 44′).
For a solid foundation, excavate deeply enough to remove topsoil and accommodate a gravel layer beneath your concrete or asphalt. This “base layer” acts like the bottom crust of your court, ensuring it meets standard court specifications and delivers consistent play for years.
Installing a Proper Drainage System
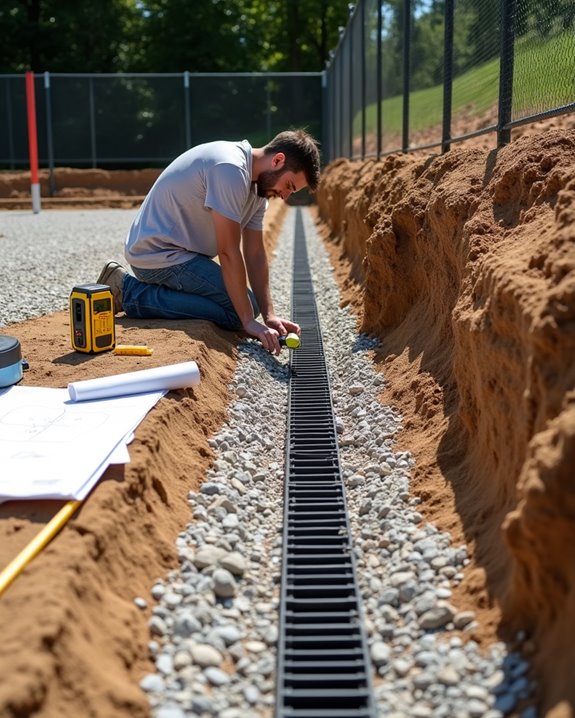
While your court’s surface might seem like the star ingredient, a proper drainage system serves as the secret sauce that preserves your pickleball court’s quality and longevity. To prevent water accumulation, make certain your site is perfectly graded with a slope of at least 1% (that’s 1/8 inch per foot) – think of it as gently tilting your cutting board to let liquids flow away.
Fold a gravel base into your court’s foundation like you would incorporate breadcrumbs into a meatloaf. This layer allows excess water to percolate through rather than pool on top. For extra protection, simmer in some French drains around the perimeter, minimizing surface cracks and erosion that can ruin your crisp playing surface.
Laying the Foundation: Concrete vs. Asphalt Options
Choosing between concrete and asphalt for your pickleball court foundation is like selecting the right base for your favorite pie—each option brings distinct flavors to your playing experience.
Concrete serves up premium durability, requiring a 3.5-inch thickness and 2500 psi strength. You’ll enjoy consistent ball bounce and minimal maintenance, though it’s initially more expensive. Like a well-baked crust, concrete handles water runoff beautifully and stands firm in various climate conditions.
Concrete courts: premium playing surfaces that cost more upfront but serve up decades of consistent performance with minimal fuss.
Asphalt, your budget-friendly alternative, is quicker to install but needs periodic resurfacing—similar to how a graham cracker crust requires more attention over time. Both surface types demand proper drainage, with a gentle slope (1% grade) to prevent puddles that can spoil your game.
Consider your local climate conditions before making this vital decision that affects your court’s longevity.
Recommended Products

PROFESSIONAL-GRADE POLYASPARTIC FLOOR COATING:- Two-component Part A and Part B polyaspartic-polyurea system engineered for industrial-strength durability, superior adhesion, and long-lasting protection on garage floors, patios, basements, warehouses, and concrete surfaces.

Alpha Grip is a non-slip concrete and asphalt paint that is designed to drastically increase the slip resistance of surfaces. It has a semi-gloss textured non-slip finish

Rust Proof & Weather Resistant for Permanent or Temporary Use Our surface mount pickleball system uses heavy duty aluminum posts with rust-resistant powder coating and stainless steel hardware. Fully weather resistant for outdoor courts, corrosion resistant for humid or indoor environments. Ideal for both indoor and outdoor matches.
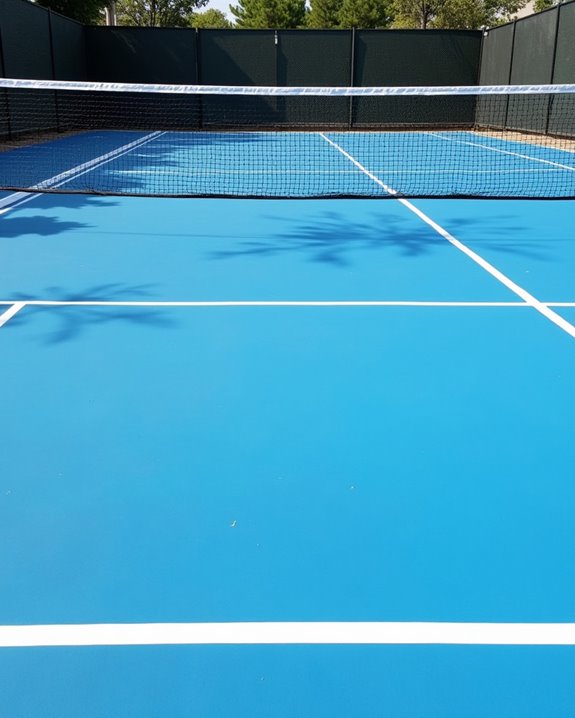
Surface Finishing and Court Coating Application
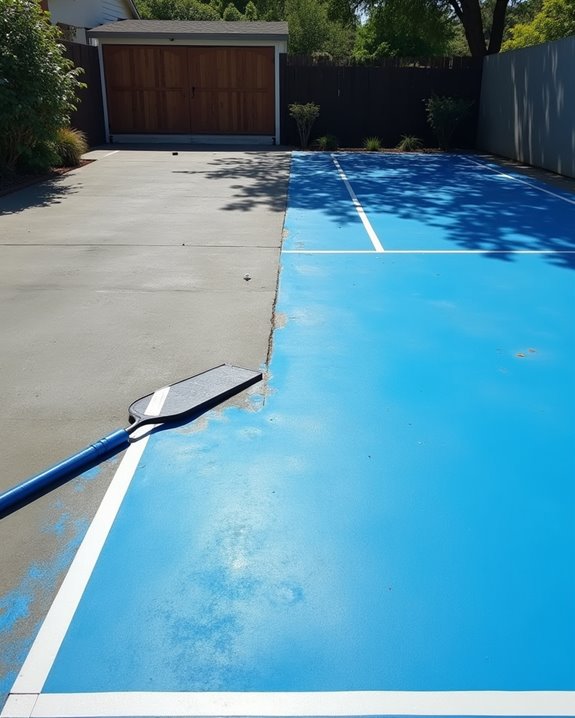
After your foundation has set like a perfectly rested dough, it’s time to tackle the court’s surface finishing—the icing on your pickleball cake.
For ideal durability and performance, you’ll want to apply high-quality court coating materials like acrylic, polyurethane, or epoxy. Before spreading these toppings, proper surface preparation is essential—clean and level your court like you’d prep a baking sheet for delicate pastries.
Consider PickleGrip or similar cushioned surfaces to give players’ joints a break while maintaining that satisfying ball response.
Apply your coating when weather conditions are just right—between 50°F and 90°F on dry days—for perfect curing. Like folding in egg whites, each layer needs careful attention.
Don’t forget that regular maintenance of your playing surface guarantees years of competitive enjoyment. Reapply coatings periodically to keep your court fresh and ready for action.
Recommended Products

SUPERIOR ADHESION: Interior and Exterior areas for concrete and asphalt surfaces, including safety areas, patios, pool decks, tennis courts, basketball courts, pickleball courts, bike paths, curbs, sidewalks, and many more.

Super Bright LED Technology: SMD 3030 LED modules produce 110-130 Lumens per watt with total lumens output of 16,000LM. Compared to other high pressure sodium lamps and high intensity discharge lamps, it offers improved light utilization and uniformity, has a lifetime of 50,000 hours, and is energy efficient to save your money

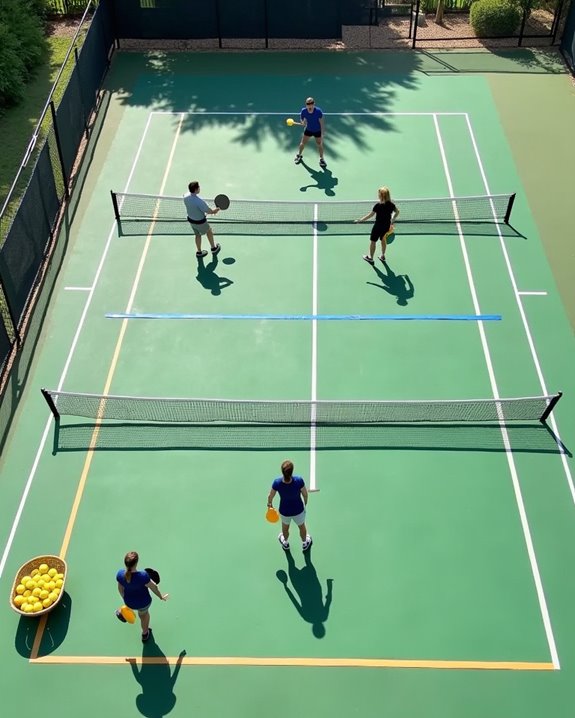
Setting Up the Net System and Posts
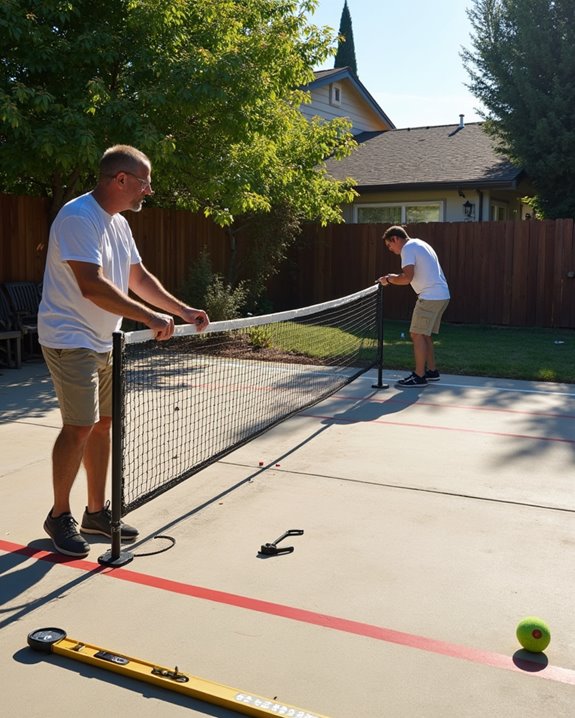
With your surface beautifully coated, it’s time to serve up the perfect net system—the true dividing line that transforms your concrete slab into an official pickleball playground.
Position your net posts exactly 22 feet apart, folding them into your court like precise ingredients in a well-crafted recipe. They must be securely anchored—no wobbly posts allowed! The perfect net height measures 36 inches at the sidelines and dips to 34 inches at center, creating that signature smile-shaped profile.
Install a ratchet reel system for quick tension adjustments when your net begins to sag. After installation, check for proper alignment to guarantee fair playing conditions on both sides. Finally, regularly inspect for damaged components—just as a chef examines their tools before each service. Your players will appreciate these attention-to-detail garnishes!
Recommended Products

Premium Performance & Durability – The C&D Qualifier Pickleball Net System is built for long-lasting use with high-quality materials. Its sturdy construction ensures stability during intense gameplay. Designed to withstand outdoor conditions, it features corrosion-resistant stainless steel hardware. Ideal for clubs, community centers, and backyard courts, this system delivers professional-level performance.

PORTABLE PICKLEBALL NET SYSTEM WITH WHEELS: Seliyoo's portable pickleball net set features 304 stainless steel brackets with large locking wheels for effortless mobility between driveway, backyard, gym, and club courts. One-step locking system ensures tournament-ready stability (34" center height) during intense play - move it anywhere, lock it in seconds

🏸 PORTABLE PICKLEBALL NET – EFFORTLESS SETUP & PRECISION TENSION:Designed for fast assembly, this pickleball net features a hand-crank steel cable tension system, center strap, and vinyl top tape for secure, adjustable tension. Ideal for both indoor and outdoor use, it ensures quick installation and reliable stability for players who value convenience and performance.
Line Painting and Court Markings
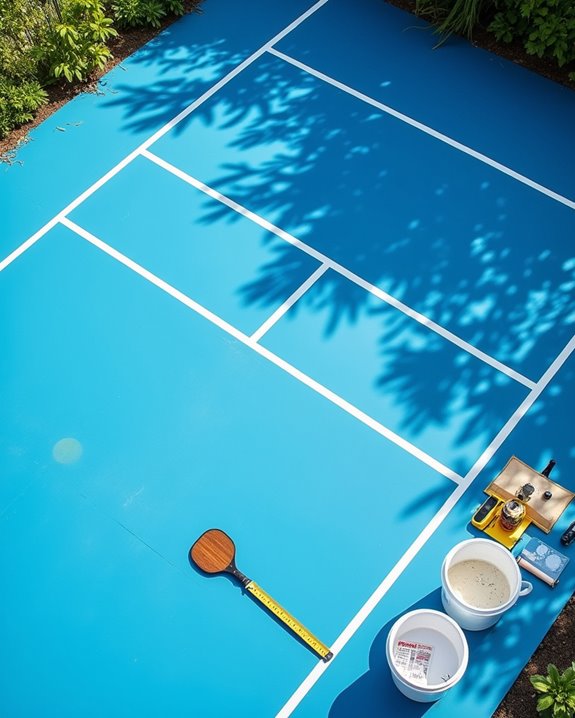
The perfect pickleball court needs crisp, precise lines that perform like the perfect outline on a well-plated dessert. Your accurate line painting will make or break your court’s usability and official compliance.
Start by mapping your official court dimensions using string as your mise en place. Remember, all specific markings—baselines, sidelines, centerlines, and NVZ lines—must be exactly 2 inches wide. The non-volley zone should extend precisely 7 feet from the net, like measuring the perfect portion of sauce.
For professional results, invest in laser line markers that work like a chef’s careful hand, creating clean edges. Choose a contrasting color that pops against your court surface—think white sauce on dark pasta.
Don’t skip on permanent markings if you’re serious about longevity. Regular maintenance of court markings guarantees your pickleball feast stays visually appetizing for years!
Recommended Products

Highly Durable and Weather Resistant

Quick and Easy Setup: Transform any space into a full or half basketball court with our basketball court marking stencil kit. It's perfect for driveways, home gyms, parks, and indoor facilities. Our versatile court marking kit ensures a professional-quality template for court markings wherever you play. It takes 20-30 minutes to lay out the cardboard stencil kit, then another 20-30 minutes to paint. Let dry for 30 minutes and your basketball court is ready to play on.

Smooth Operation Over Any Surface - This paint striper glides easily on grass, turf, or asphalt thanks to its large wheels and solid build. Ideal for use as a soccer field line painter, or even as a parking lot striper—ensuring sharp lines wherever you roll.
Adding Fencing and Safety Features
Securing your pickleball court with proper fencing isn’t just a finishing touch—it’s the protective crust that keeps your delicious gameplay contained and safe. Install 10-foot wire fencing around your court’s perimeter for ideal ball containment while preserving visibility for spectators enjoying your pickleball feasts.
Don’t forget to season your court with strategic windbreaks using dense landscaping or fence panels. These barriers fold into your design like ingredients, reducing gusty interruptions during intense rallies.
For safety, add padding to lower sections where players might collide with the fence—think of it as oven mitts for your court’s hot spots. Finally, schedule regular inspections of all safety features to verify your protection measures remain fresh and effective, preventing any unwanted spills during gameplay.
Lighting Installation for Night Play
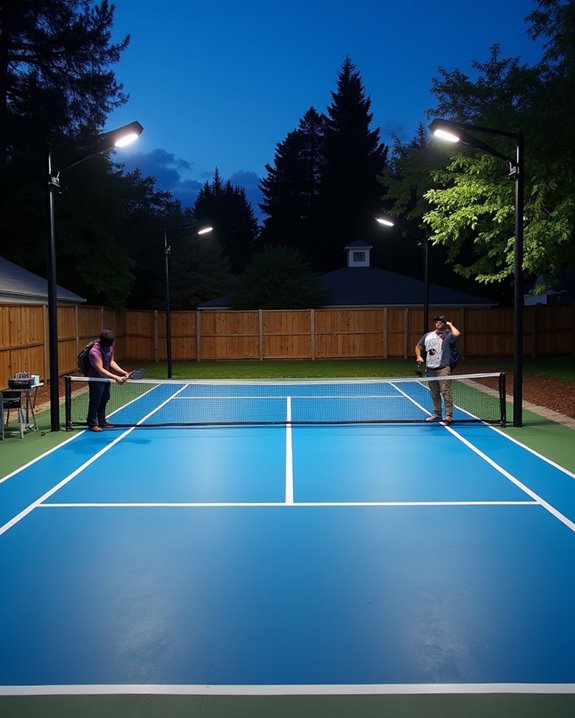
Because darkness brings your pickleball fun to a screeching halt, proper lighting transforms your court into an around-the-clock gameplay buffet. For this DIY project, position two weather-resistant LED fixtures on poles 24 feet behind each court end, eliminating glare while serving up perfect illumination.
Mount your lighting on 18-20 foot poles—like placing a cherry on top of your pickleball sundae. You’ll want to achieve at least 50 foot-candles of brightness across the playing surface, ensuring every shot is crystal clear even during evening rallies.
Budget $4,000-$5,000 for quality fixtures that minimize maintenance headaches. The investment pays dividends in extended play hours and enhanced visibility that’ll make your nighttime games sizzle with the same intensity as daytime matches.
Recommended Products

[ Commercial Grade & 5 Years Service ] Super bright 450W led parking lot light with 67,500Lm, 5000K daylight white, TYPEⅢ beam angle, no glare, no strobe light, best area coverage for outdoor area lighting. 5-year replacement service for any defects or quality issues

[ Commercial Grade & 5 Years Service ] Super bright 400W led parking lot light with 60,000Lm, 5000K daylight white, TYPEⅢ beam angle, no glare, no strobe light, best area coverage for outdoor area lighting. 5-year replacement service for any defects or quality issues

[ Commercial Grade & 5 Years Service ] Super bright 450W led parking lot light with 67,500Lm, 5000K daylight white, TYPEⅢ beam angle, no glare, no strobe light, best area coverage for outdoor area lighting. 5-year replacement service for any defects or quality issues
Frequently Asked Questions
What Is the 10 Second Rule in Pickleball?
In tournament play, you’ve got 10 seconds to serve after the score is called. This pickleball etiquette prevents delays and falls under fault rules – if you don’t serve within this window, you’ll lose your turn.
How to Layout a Pickleball Court?
You’ll need to mark court dimensions (20’x44′), establish proper net height (34″-36″), and create clear boundary markings. Consider surface materials, lighting options, court orientation, fencing requirements, drainage solutions, maintenance tips, and spectator seating when planning your layout.
How to Make at Home Pickleball Court?
You’ll need proper pickleball court dimensions (20’x44′), suitable surface materials for indoor or outdoor play, drainage solutions, and a net installation guide. Don’t forget line marking techniques, lighting considerations, maintenance tips, and safety precautions.
What Is the Best Foundation for a Pickleball Court?
Like a house built on sand, your pickleball court needs a solid foundation. You’ll want 3.5 inches of 2500 psi concrete over a gravel base, ensuring proper drainage systems and careful ground preparation for longevity and performance.